


Recipes
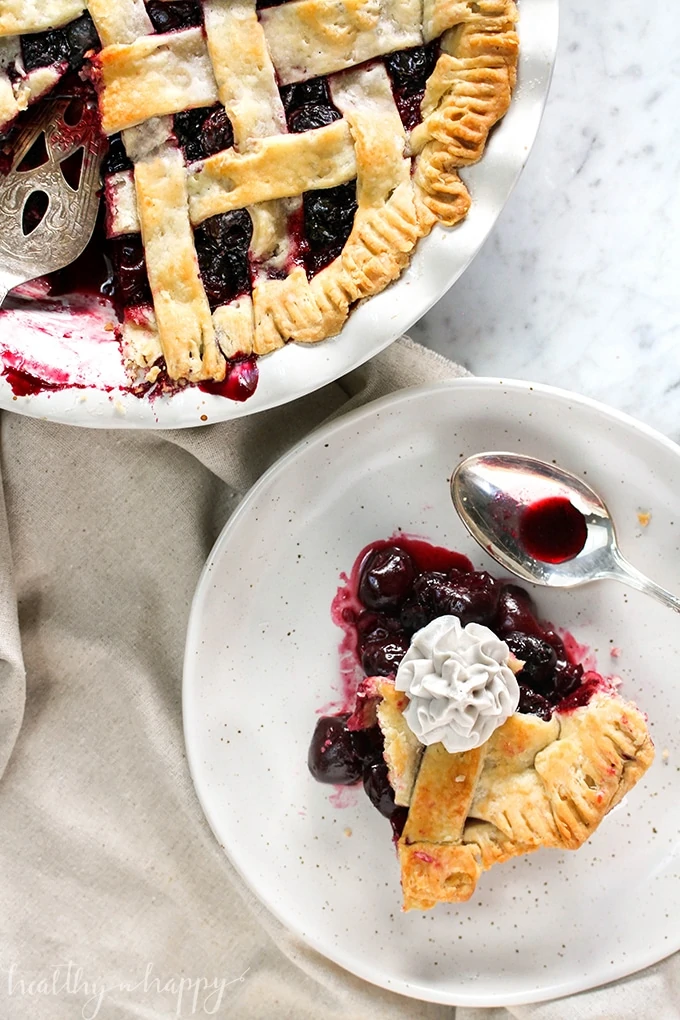
(Recipe) Sugar Free Cherry Pie

Aug
Introduction
Sugar Free Cherry Pie
Hello bakers.
This week I’m taking you down the pie road so you can create this amazing Sugar free Cherry Pie! Trust me, it’s so worth having this recipe in your life. I’m also going to run you through some basic crust techniques so never need to reach for the store bought kind again.
This Sugar free Cherry Pie is packed full of sweet plump cherries, which has been baked in a crispy, flakey, outrageously good pie crust. Serve it warm with coconut whip or your favourite ice cream in winter OR slice it up cold from the fridge with a generous scoop of ice cream in summer. So what I’m saying is this pie can be enjoyed all year round. Win!
I’ve used frozen cherries for the filling. You can use both fresh or frozen for this recipe, however with the frozen it is very important to thaw your cherries completely and drain them of their juices before starting. Otherwise you will end up with a soggy crust and a very wet pie.
This Sugar free Cherry Pie recipe does make enough dough for both a bottom and top layer so if you only need a bottom layer, half this crust recipe.
Sugar Free Cherry Pie

Ingredients
Pie Crust
- – 2 cups and 1 tablespoon (315g) all purpose plain flour
- – 1 teaspoon salt
- – ⅔ cup (100g) cold Coconut Oil, cubed
- – ⅓ cup and 2 tablespoons (90g) cold vegan butter, cubed
- – ½ cup (120mL) cold water
Filling
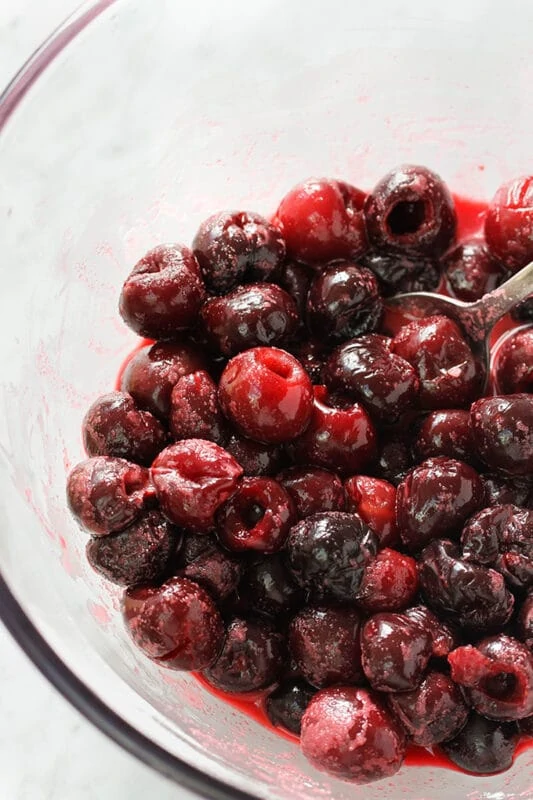
- – 1kg frozen cherries, thawed and drained
- – ⅓ cup (60g) Natvia
- – 2½ tablespoons (20g) arrowroot powder
- – 1 tablespoon (15mL) lemon juice
- – 1 teaspoon (6mL) vanilla extract
Method
- Make the crust. Mix flour and salt together. Pour into a food processor and add the cold coconut oil and vegan butter. Pulse to form pea sized bits of fat. You can do this by hand using your fingertips to rub in the fats until it looks like wet sand. Transfer mixture to a bowl and with the sharp end of a butter knife stir in the cold water 1 tablespoon at a time. Using a knife helps to cut through the dough and is easier to stir with. Stop adding water when large clumps of dough begin to form.
- Transfer to a floured surface and knead lightly to bring together. Cut the dough in half, cling wrap each half and press each down to form a thick disc. Place in the fridge for an hour to chill.
- Make the filling by mixing all the ingredients together in a bowl and place it in the fridge to keep cold.
- Preheat oven to 205°C/400°F fan forced. Lightly grease a 22cm/9 inch pie tin.
- Roll the dough. Once the dough has chilled, remove one disc from the fridge (keep the other one in there), unwrap it and place on a lightly floured surface. Using a rolling pin roll it into a 30cm/12 inch circle. Place it into the bottom of the pie tin. Spoon the filling in, avoid using any of the juices at the bottom of the bowl.
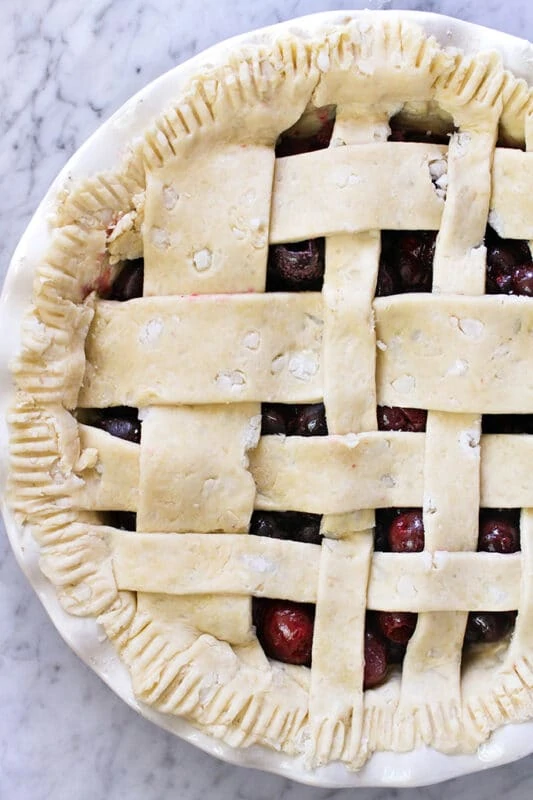
- Create the lattice. Roll the second piece of dough into a 30cm/12 inch circle. Using a sharp knife or pizza cutter, cut 8 strips out. I cut 4 larger ones and 4 thinner ones. Arrange carefully in a lattice appearance. Good video here if you are unsure how to do that. Trim off any excess dough, then crimp the sides down using a fork. Lightly brush the top with soy milk.
- Bake in the preheated oven for 20 minutes. With the oven door closed turn the temperature down to 190°C/374°F and bake for a further 30-35 minutes, until the pie crust is golden in appearance.
- Remove from the oven and leave to cool for 30 minutes (if you want a warm pie) or until completely cool (if you want a cold pie). This resting time allows the filling to thicken.
Store covered in the fridge for 5 days.
Adapted from Sally’s Baking Addiction.
More recipes

(Recipe) Italian Vegetable Stew with Cauliflower Rice
Looking for a warm, hearty dish that's both nourishing and low in carbs? This Mediterranean-inspired [...]
Jul
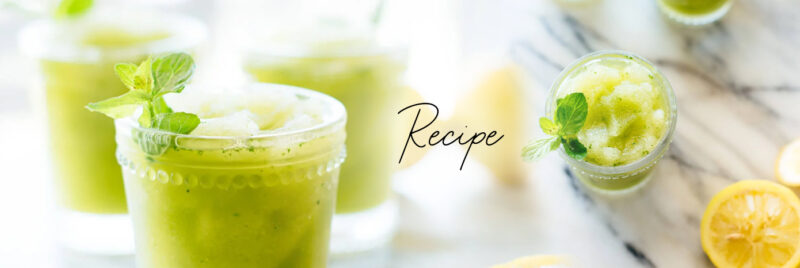
(Recipe) Frozen Mint Lemonade
As the summer heats up, keeping yourself hydrated is crucial for maintaining healthy, glowing skin [...]
Jul

(Recipe) Cold Cucumber Soup
Even with the rainy weather in June here in the Netherlands, a refreshing dish can [...]
Jul
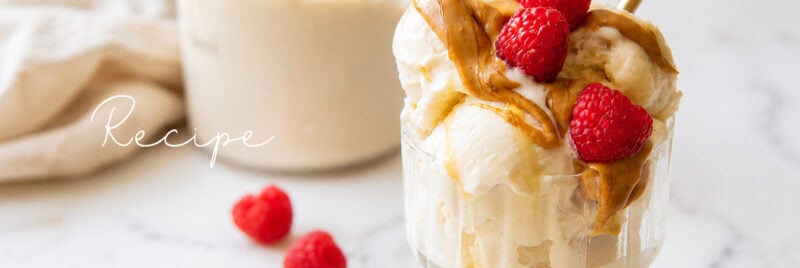
(Recipe) Creamy Greek Frozen Yogurt
Looking for a healthier frozen treat this summer? This creamy Greek Frozen Yogurt is rich [...]
Jul
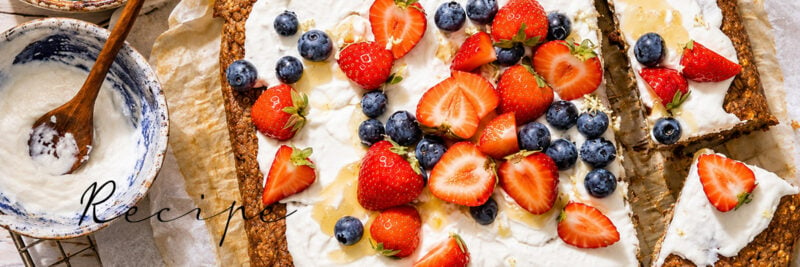
(Recipe) Summer Banana Cake with Fresh Berries & Lemon Coconut Cream
Looking for a wholesome summer treat that's naturally sweet, wonderfully satisfying, and perfect to share? [...]
Jun

(Recipe) Strawberry & Mint infused water
A simple, refreshing summer drink that's perfect for warm afternoons, garden gatherings, or simply keeping [...]
Jun
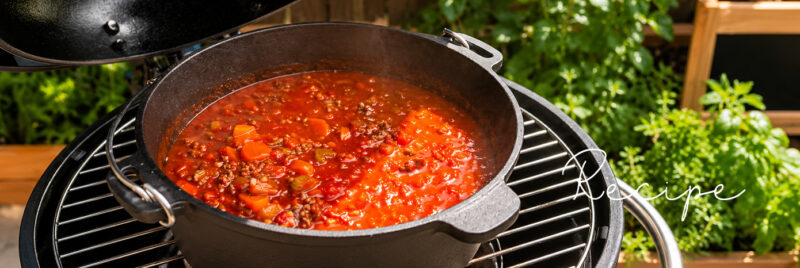
(Recipe) Dutch Oven BBQ Bolognese Sauce
A rich, slow-cooked Bolognese prepared in a Dutch oven on the BBQ. Cooking low and [...]
Jun
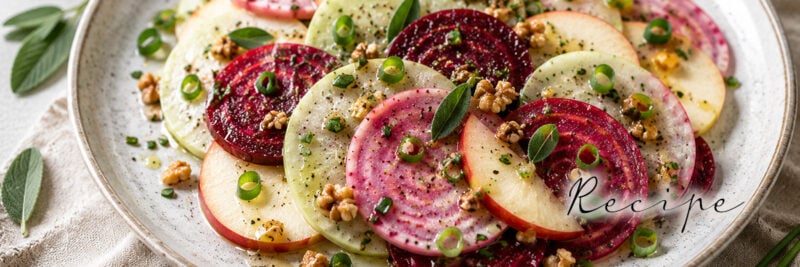
(Recipe) Kohlrabi, beet and Apple salad
As the days grow warmer, we naturally gravitate towards lighter, fresher meals. This colourful salad [...]
May
Introduction
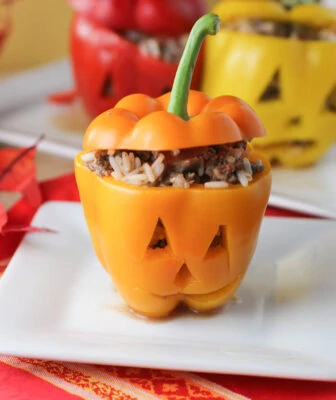
Healthy Halloween Stuffed Peppers
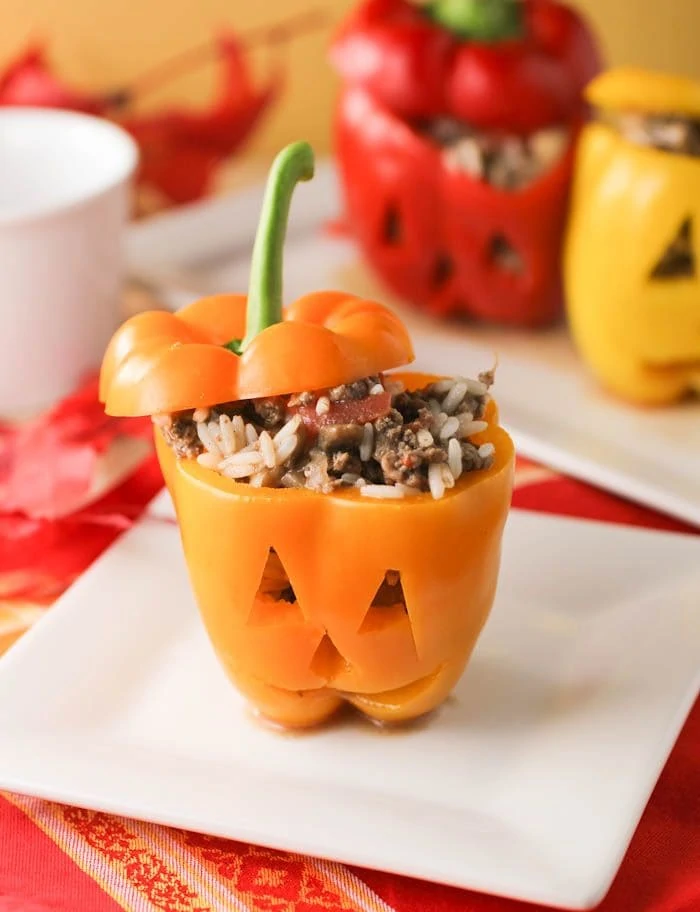
Halloween Stuffed Peppers
Prep: 25 minutes
Cook: 35 minutes
Serves: 4

Ingredients
- 4 small peppers (a mix of orange, red and yellow looks nice)
- 25g pine nuts
- 1 tbsp olive or rapeseed oil
- 1 red onion , chopped
- 2 fat garlic cloves , crushed
- 1 small aubergine , chopped into small pieces
- 200g pouch mixed grains (we used bulghur wheat and quinoa)
- 2 tbsp sundried tomato paste
- zest of 1 lemon
- bunch basil , chopped
Method
- STEP 1
Cut the tops off the peppers (keeping the tops to one side) and remove the seeds and any white flesh from inside. Use a small sharp knife to carve spooky Halloween faces into the sides. Chop any offcuts into small pieces and set aside.
- STEP 2
Toast the pine nuts in a dry pan for a few mins until golden, and set aside. Heat the oil in the pan, and heat the oven to 200C/180C fan/gas 6. Cook the onion in the oil for 8-10 mins until softened. Stir in the garlic, pepper offcuts and aubergine and cook for another 10 mins, until the veggies are soft. Add a splash of water if the pan looks dry. Season.
 STEP 3
Squeeze the pouch of grains to break them up, then tip into the pan with the tomato paste. Stir for a minute or two to warm through, then remove from the heat and add the lemon zest, basil and pine nuts.
- STEP 4
Fill each pepper with the grain mixture. Replace the lids, using cocktail sticks to secure them in place, and put the peppers in a deep roasting tin with the carved faces facing upwards. Cover with foil and bake for 35 mins, uncovered for the final 10. The peppers should be soft and the filling piping hot.
 STEP 3
More recipes
(Recipe) Italian Vegetable Stew with Cauliflower Rice
Looking for a warm, hearty dish that's both nourishing and low in carbs? This Mediterranean-inspired [...]
Jul
(Recipe) Frozen Mint Lemonade
As the summer heats up, keeping yourself hydrated is crucial for maintaining healthy, glowing skin [...]
Jul
(Recipe) Cold Cucumber Soup
Even with the rainy weather in June here in the Netherlands, a refreshing dish can [...]
Jul
(Recipe) Creamy Greek Frozen Yogurt
Looking for a healthier frozen treat this summer? This creamy Greek Frozen Yogurt is rich [...]
Jul
(Recipe) Summer Banana Cake with Fresh Berries & Lemon Coconut Cream
Looking for a wholesome summer treat that's naturally sweet, wonderfully satisfying, and perfect to share? [...]
Jun
(Recipe) Strawberry & Mint infused water
A simple, refreshing summer drink that's perfect for warm afternoons, garden gatherings, or simply keeping [...]
Jun
(Recipe) Dutch Oven BBQ Bolognese Sauce
A rich, slow-cooked Bolognese prepared in a Dutch oven on the BBQ. Cooking low and [...]
Jun
(Recipe) Kohlrabi, beet and Apple salad
As the days grow warmer, we naturally gravitate towards lighter, fresher meals. This colourful salad [...]
May
 Beauty Products
 By Skintype
 Brands A-Z
 Wellness
 Health / Nutrition