


Beauty News, Dutch Home and Living
Dutch Home and Living Christmas Advent Calendar Day 16

16
Dec
Dec
Creating DIY Snow Globes: A Festive Craft for the Holidays
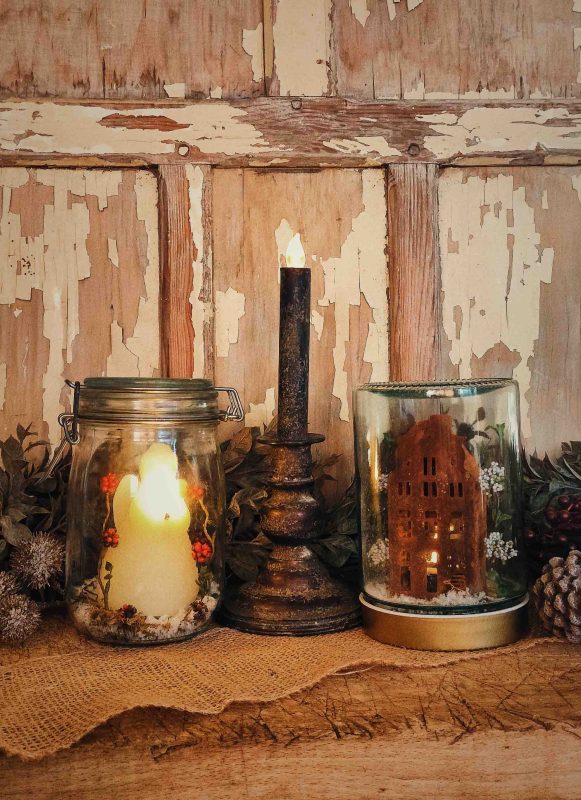
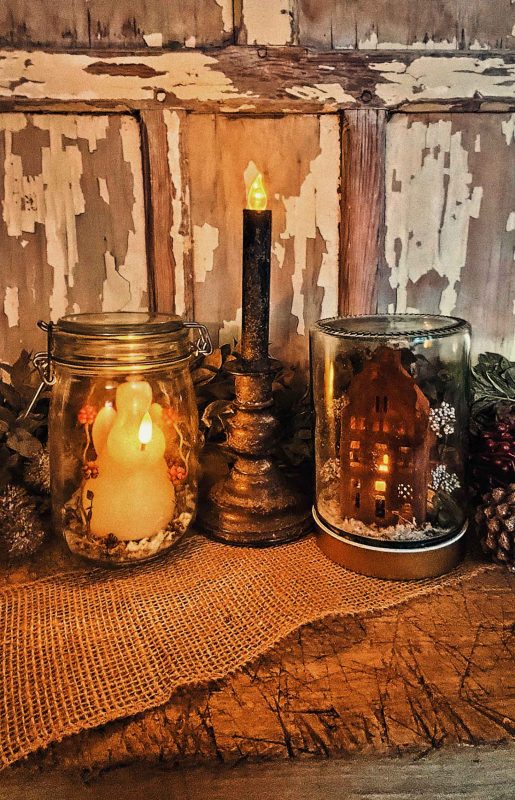
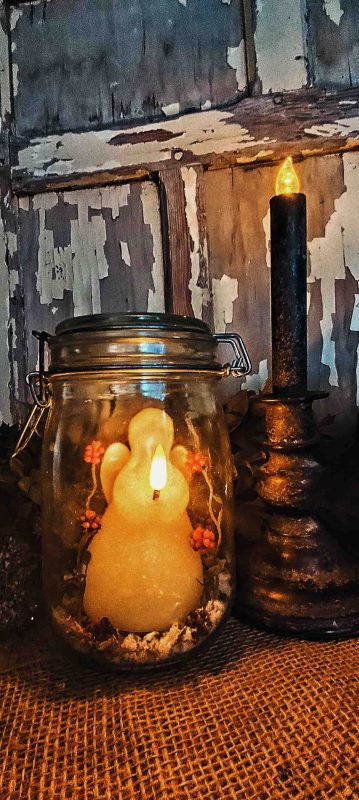
Making your own snow globes from jars is a delightful project that adds a personal touch to your holiday decorations. This festive craft not only serves as a charming ornament but also makes for a thoughtful gift. Here’s how you can create your own snow globes at home.
Materials Needed
- Glass jars: A mason jar or any clear glass jar with a lid
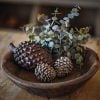
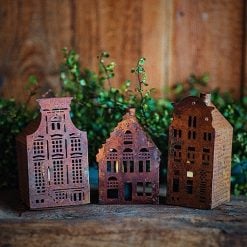
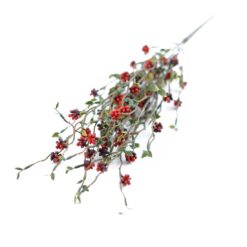
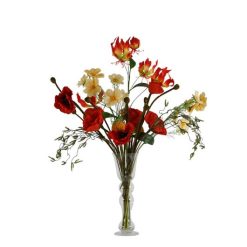
- Figurines: Small plastic toys, holiday-themed decorations, or even handmade clay figures. You can also use one of our Rusty Dutch Houses for this or one of our Angel Candles like we have.
- Water (Optional): You can use water to make your Snow Globe more authentic. Distilled water is preferred to prevent cloudiness.
- Glycerin (Optional): Adding this to the water gives the impression of the “snow” falling slowly; you can find it at pharmacies or craft stores.
- Fake snow or glitter: Use white glitter, faux snow, Epsom salt, sugar or even coconut flakes for a snowy effect.
- Hot glue gun: For securing the figurines.
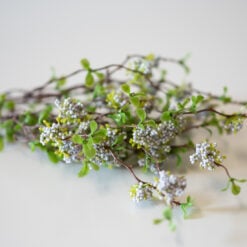
- Optional decorations: Ribbons, greenery (we used some of our Dutch Home and Living greenery since it is detachable and can be repurposed), paint, or stickers for the jar lid.
Step-by-Step Instructions
1. Prepare the Figurines:
-
Choose your figurines and ensure they fit inside the jar. If they are not flat on the bottom, use hot glue to secure them to the jar lid.
2. Glue the Figurines:
- Apply hot glue to the base of your figurine and press it firmly onto the inside of the jar lid. Allow it to dry completely.
3. Mix the Snow Globe Solution:
- Fill your jar with distilled water, leaving some space at the top.
- Add 1-2 teaspoons of glycerin to the water. This will help slow down the falling snow.
- Stir in a generous amount of your chosen fake snow until you achieve your desired snowy effect.
4. Assemble the Snow Globe:
- Carefully screw the lid onto the jar, ensuring that no water spills out.
- If desired, decorate the outside of the jar lid with ribbons or paint.
5. Shake and Enjoy: Turn your jar upside down and shake gently to see the snow swirl around your figurine!
Price range: €9,95 through €27,50

€11,95

€11,95
Tips for Customization
- Theme It Up: Create themed snow globes for different holidays or seasons by changing the figurines and colors of glitter used.
- Personal Touches: Add photos or small mementos inside for a more personalized gift.
- Layering Effects: Experiment with different sizes of glitter and fake snow for varied effects.

Making DIY snow globes is an enjoyable activity that can be shared with family and friends during the festive season. Not only do they serve as beautiful decorations, but they also encapsulate cherished memories in a whimsical way.
Make sure to come back for more Advent Calendar surprises and happy crafting! 😀
€3,95

€79,95

€13,95
€13,95

€13,95
€13,95


€13,95

€13,95

€35,00

 Beauty Products
 By Skintype
 Brands A-Z
 Wellness
 Health / Nutrition