


Beauty News, Wilma
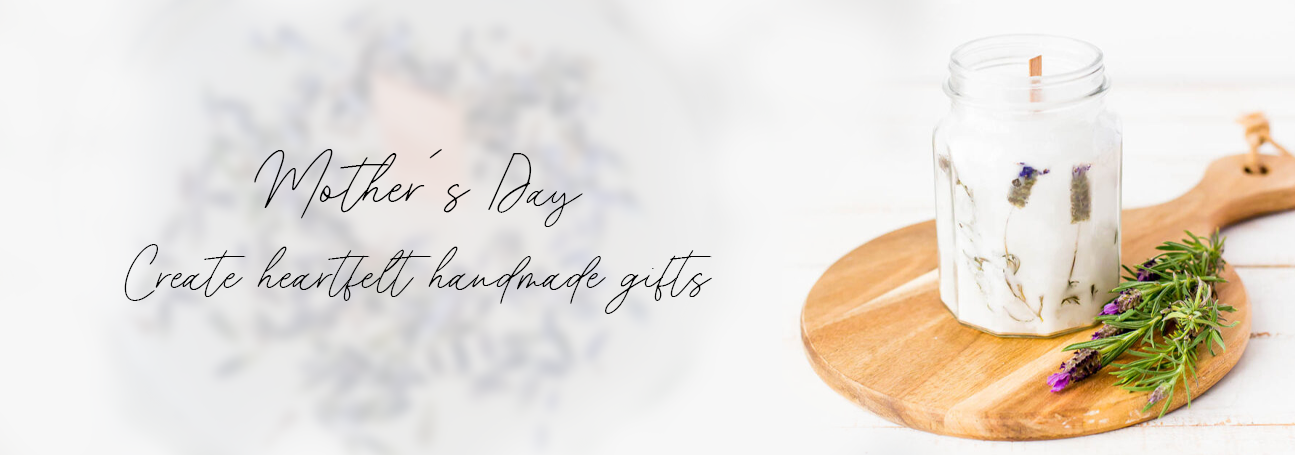
Mother’s Day DIY: Create Heartfelt Handmade Gifts
May
This Mother’s Day, step away from the traditional gift-giving routine and show your love with something truly heartfelt and handmade. Whether you’re crafting for your mom, a mother figure, or a special guardian, our DIY recipes are designed to pamper and please. From the soothing scents of homemade candles to the relaxing allure of bespoke bath salts, each recipe is easy to follow and fun to make. Not only will these gifts bring a smile to her face, but they’ll also imbue her home with a sense of warmth and wellness.
Join us as we dive into these simple yet sophisticated DIY beauty and wellness projects that are perfect for making this Mother’s Day unforgettable. Let’s get creative and express our gratitude with gifts that say, “I made this for you.”
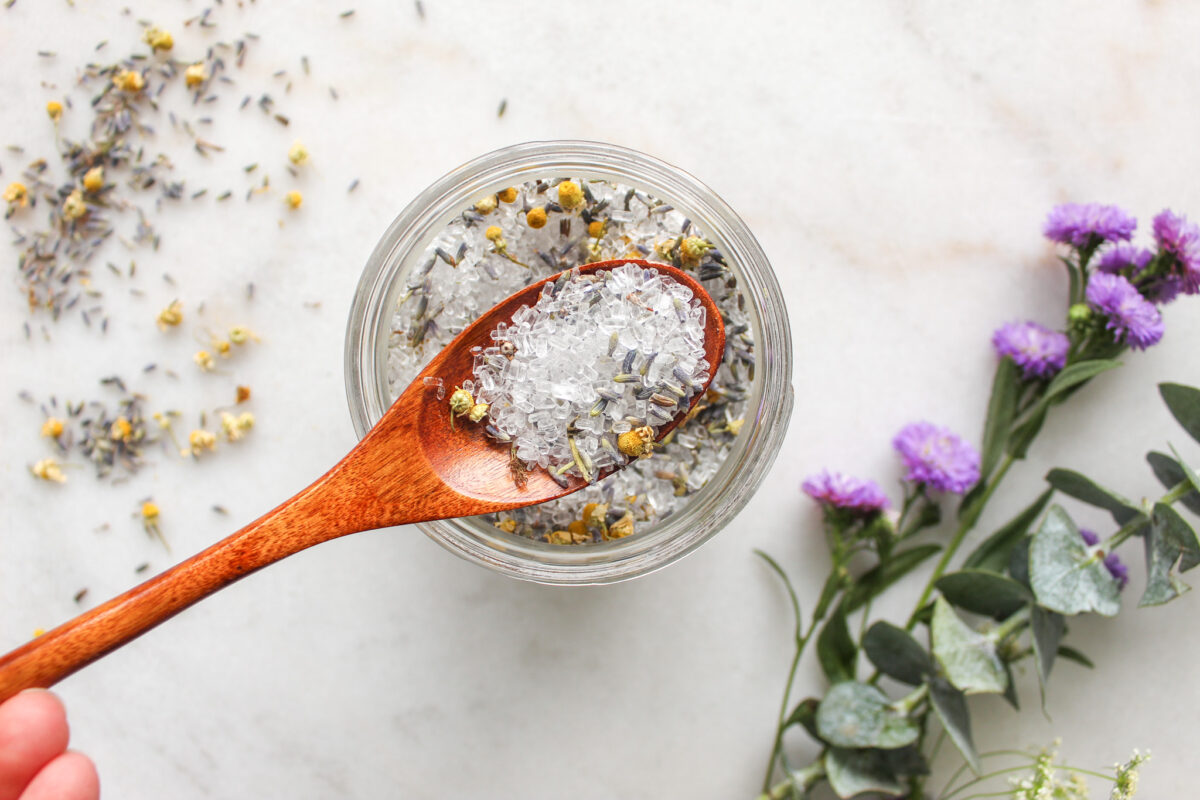
DIY Relaxing Bath Salt Recipe
Indulge in the ultimate relaxation with our DIY Relaxing Bath Salt. This recipe blends the tranquil properties of essential oils with natural ingredients to create a soothing bath experience that eases the mind and pampers the skin.
Ingredients
- 2 cups Epsom Salt: Excellent for muscle relaxation and detoxification.
- 1/2 cup Baking Soda: Helps to soften the water and soothe the skin.
- 10-15 drops of Lavender Essential Oil (Living Libations): Known for its calming and relaxing properties.
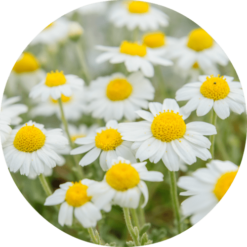
- 10 drops of Chamomile Essential Oil (Living Libations): Great for its anti-inflammatory and soothing effects.
- Optional: 1/4 cup Dried Lavender Flowers: Adds a touch of luxury and enhances the relaxing properties of the bath salts.
Instructions:
- Mix Ingredients: In a large bowl, combine the Epsom salt and baking soda thoroughly.
- Add Essential Oils: Sprinkle the essential oils over the salt mixture, stirring well to ensure even distribution. If using, sprinkle in the dried lavender flowers and mix again.
- Store: Transfer the mixture to a sealed glass jar. Store in a cool, dry place.
- Use: To enjoy a relaxing bath, pour 1/4 to 1/2 cup of the bath salt into the bath as it fills with warm water.

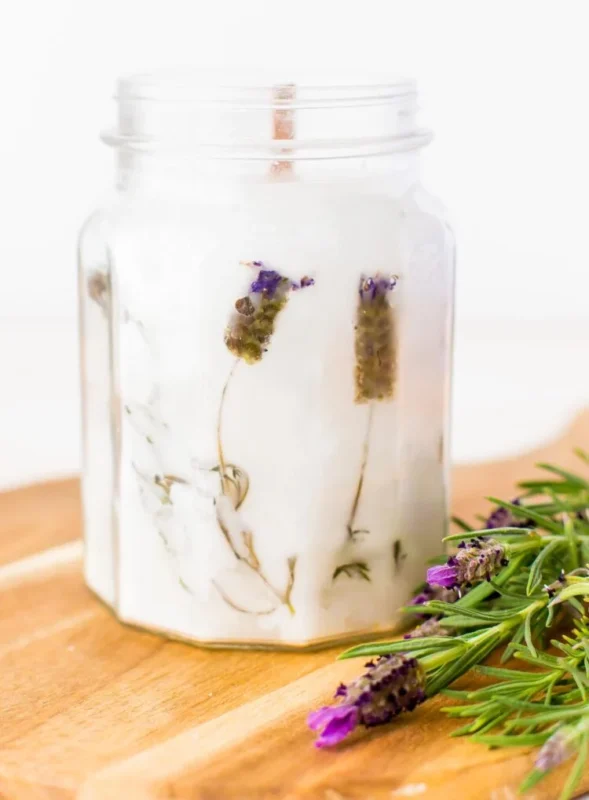
DIY Scented Candle
Craft a serene ambiance with our DIY Lavender Scented Candle. This candle combines the soothing aroma of lavender with hints of floral and woodsy notes, creating a calming space in any room.


Materials
- 1 lb Soy Wax Flakes: Ideal for a clean, slow burn.
- Candle Wicks: Pre-waxed wicks with metal bases.
- 30 drops of Lavender Essential Oil (Living Libations): For a calming and soothing aroma.
- 15 drops of Rose Otto Essential Oil (optional, Living Libations): Adds a subtle floral note.
- 15 drops of Sandalwood Essential Oil (optional, Living Libations): Provides a rich, woodsy base.
- A Clean Mason Jar: Look for one with rustic charm from your local thrift store.
- Double Boiler or Heat-Proof Container and Saucepan: For melting the wax.
- Wooden Skewer or Stirring Utensil: For mixing.
- Dried Lavender Buds and/or Stems: To enhance the visual appeal and fragrance.
- Tweezers: To place the buds and stems precisely.
- 1″ Foam Paintbrush: Helps in evenly distributing the oils.
Instructions:
- Prepare the Wick: Secure the wick in the center of the mason jar. Use a bit of melted wax to adhere the wick base to the bottom of the jar. Ensure it’s straight and well-positioned.
- Melt the Wax: Set up your double boiler or heat-proof container over a saucepan with simmering water. Add the soy wax flakes and allow them to melt completely.
- Add Essential Oils: Once the wax is melted and slightly cooled, add the lavender, rose otto, and sandalwood essential oils. Stir thoroughly with the wooden skewer to ensure the oils are well distributed.
- Add Lavender Buds: Use tweezers to place some dried lavender buds and/or stems into the jar. Arrange them as desired along the sides or bottom of the jar.
- Pour the Wax: Carefully pour the melted wax into the jar, ensuring not to displace the wick or the lavender buds too much. If the buds move, you can gently reposition them with the tweezers or the paintbrush.
- Secure the Wick: If necessary, straighten the wick by tying it to a skewer or pencil laid across the jar’s opening to keep it centered as the wax begins to set.
- Let it Set: Allow the candle to cool and harden completely, ideally overnight.
- Trim the Wick: Once the wax has set, trim the wick to about 1/4 inch above the wax surface.
 Beauty Products
 By Skintype
 Brands A-Z
 Wellness
 Health / Nutrition